


Tile Roofing | South Florida
Mortar or Foam Adhesive for Your Tile Roof? Start With the Approved Method
Both methods are used on South Florida tile roofs, but the right choice depends on your roof's approved installation method, the product approvals behind it, and the conditions on your home.
By Jonathan Rodriguez · Published October 24, 2026
Tile roofs in South Florida are held down by mortar, foam adhesive, or a mix of fasteners and bonding. Neither tile roof mortar vs foam adhesive wins on its own. The right choice is the method listed in an approved roofing assembly for your exact roof. Fla. Stat. § 553.842 lists roofing among the product categories that must be approved through a statewide method, so approval is the deciding test.
This guide explains how terracotta and concrete tiles are attached, what sits underneath them, and what to check before work starts.
Why Tile Attachment Matters Most When Hurricane Winds Hit
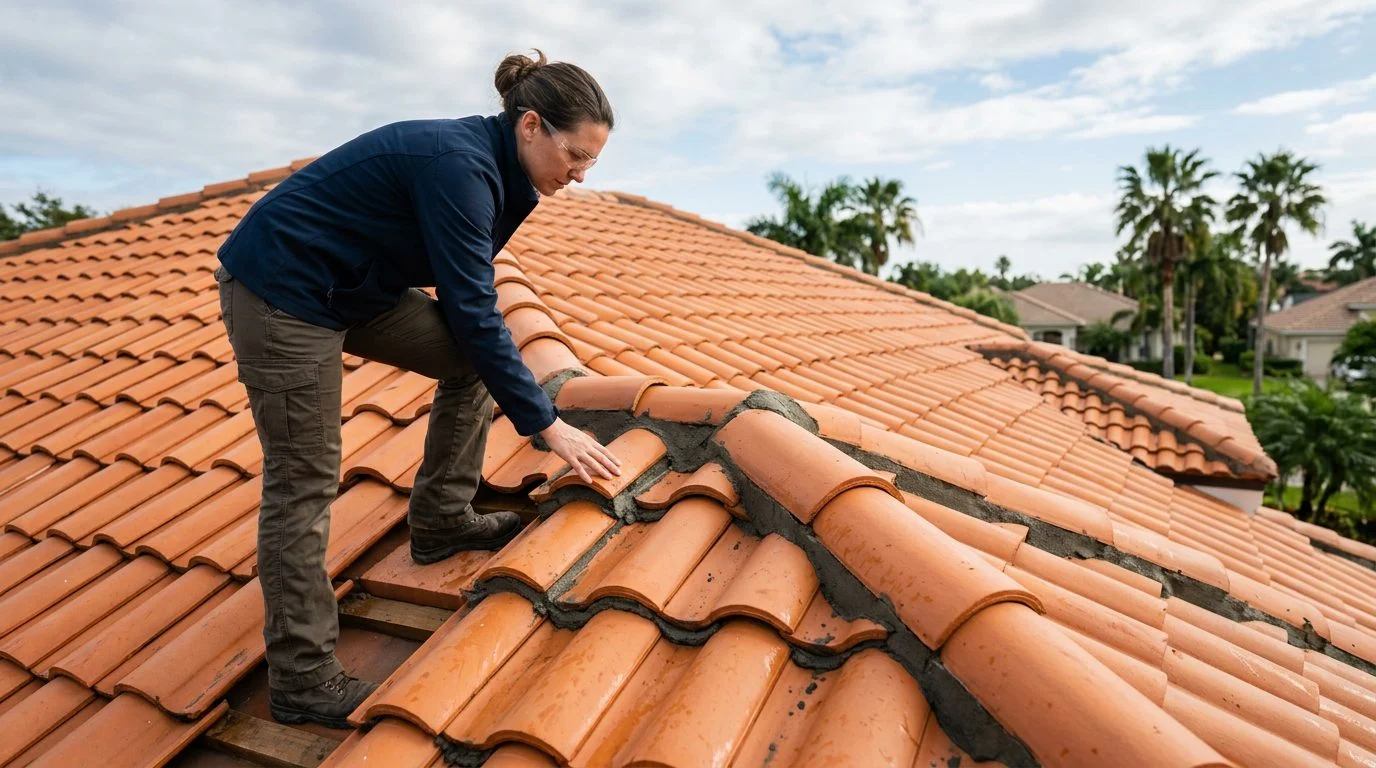
Tile attachment matters most because wind pulls up on a roof. Uplift is strongest at edges, corners, and ridges. A lifted tile can crack, slide, or leave the layer below open to rain.
That is why the method used to hold tiles down is central to how a roof handles a storm. Mortar and foam adhesive are both common in South Florida. Each one must be judged against an approved assembly, not against habit or rule of thumb.
Florida law draws that line clearly. The same statute says a product may not be marketed as hurricane or windstorm protection unless it is approved.
This page covers how terracotta and concrete tiles are attached and what that means for mortar versus foam adhesive. For the full picture of tile roof options, see our tile roofing overview.
If tiles lifted or cracked after a storm, or a replacement has you weighing mortar against foam, our team can review your roof in a free first consultation that is confidential and carries no obligation to continue. Talk it through with our team — the first consultation is free, confidential, and carries no obligation.
How Terracotta and Concrete Tiles Are Attached Today
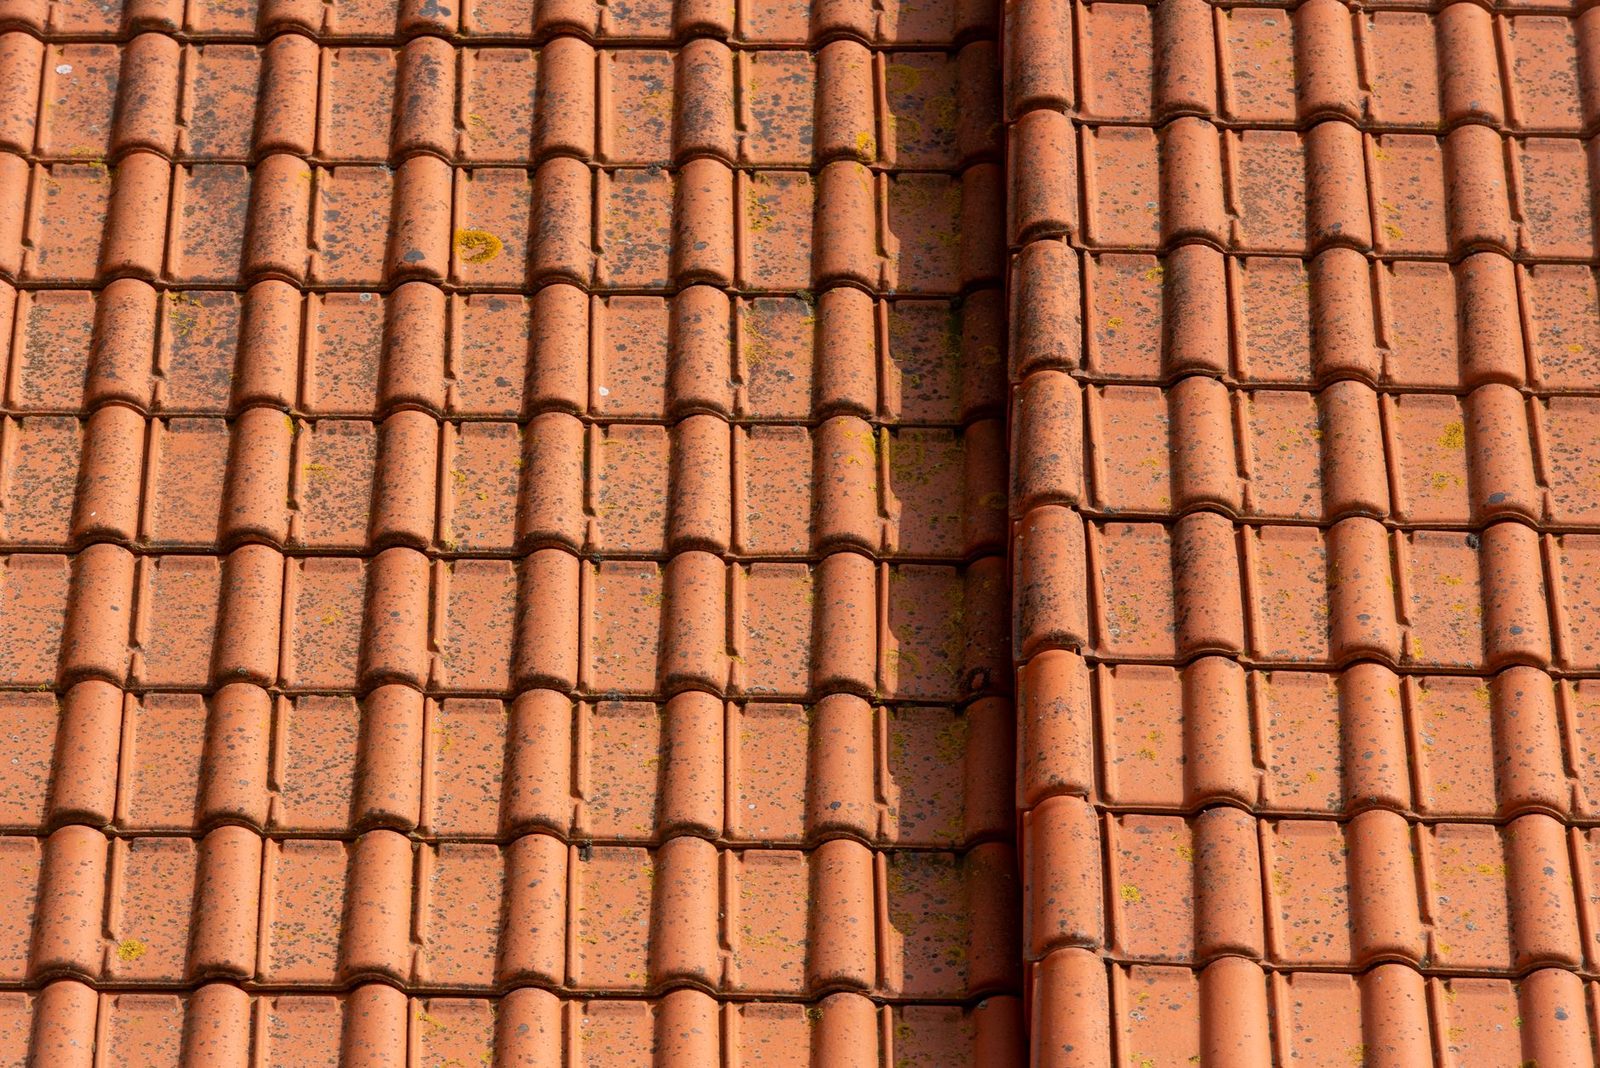
Terracotta and concrete tiles are attached by an approved method, and the method depends on the tile profile and the assembly. Most roofs use one of two approaches: mortar set or foam adhesive.
Mortar set is the older, long-used method. The installer bonds each tile with a mortar bed to the layer below. The mortar holds the tile in place and adds weight to the roof. Results depend heavily on mix, placement, and cleanup, so crew skill matters.
Foam adhesive is a set-in-place method. The installer lays adhesive, presses the tile into it, and the foam expands to fill the gap and bond the tile. It is typically lighter than mortar.
Barrel tile, in clay and concrete, is common across South Florida, so both methods appear on these roofs. Profile changes how a tile sits and interlocks. A Miami-Dade approval for a Plantation concrete tile system describes a flat-profile, interlocking system tested under TAS 112 and approved for specified Florida Building Code and High-Velocity Hurricane Zone uses. Miami-Dade NOA 25072201 shows that an approval is tied to a specific tile system, not to a tile type in general.
What Goes Underneath Roof Tiles: Underlayment and Deck Preparation
Under the tiles sits an underlayment, laid over a prepared roof deck. Together they form the water barrier and the base for the attachment method.
The deck is the structural base, often wood or concrete. If it is soft, cracked, or uneven, the attachment cannot bond well. Old tiles, debris, and weak spots should be addressed before new mortar or adhesive goes down.
The underlayment is the second line of defense. If a tile shifts or its bond fails, the underlayment keeps water from reaching the deck and the inside of the home. Its condition matters as much as the tile above it.
Compatibility is the key point. Florida approvals cover the layers together. Changing the underlayment or switching the attachment method can change the assembly, and the approval may no longer match. For general background on roofing materials, see NRCA roofing materials guidance. Check the deck before work begins.
Mortar vs. Foam Adhesive: Side-by-Side Tradeoffs
Neither mortar nor foam adhesive is the better choice in every case. The right one is the method listed in the approved assembly for your roof.
On installation, mortar set is labor-heavy and depends on mix consistency and placement. Foam adhesive depends on bead placement and proper cure. In both cases, installer skill decides whether every tile bonds evenly. A rushed crew can leave weak spots under either method.
On repairs, a single cracked or lifted tile must be removed and reset. With mortar, the old bed has to be broken free before a new bed is set. With foam, the tile is lifted and the old adhesive is cut away before fresh adhesive goes down. Both take care to protect the tiles around the repair.
On re-roofing, both methods add cleanup. Mortar leaves a heavy bed to remove from the deck. Foam leaves adhesive residue to scrape. Both take time when a whole roof comes off.
On weight, mortar adds more load than foam adhesive. That load belongs in the structural picture, which is why the load-capacity check applies to any tile reroof.
Florida Product Approval and Miami-Dade NOA: Why the Method Must Be Approved
When planning a roofing project, it helps to review the product details and confirm they fit the roof system already in place. Miami-Dade County Product Control issues approvals called Notices of Acceptance (NOA).
When you read an approval, check three things. First, the tile, underlayment, and attachment method should appear together. Second, they should match the roof being installed. Third, the document should cover this product and its approved uses, not a similar one.
Metal is part of the picture too. Florida-approved metal panels can be made in a barrel-tile profile, as Miami-Dade NOA 21020205 shows. Those panels were evaluated against the Florida Building Code, including its High Velocity Hurricane Zone provisions.
Approvals also change over time. Under Fla. Admin. Code R. 61G20-3.007, an approval stays valid until the product changes in a way that lowers performance, the Code changes in a way that affects it, or the approval is suspended, revoked, or superseded. Under Fla. Admin. Code R. 61G20-3.012, a revision keeps the same approval number with a tag such as R1 or R2, and an approved revision supersedes the original.
So a mortar approval does not automatically cover a foam adhesive swap. Ask whether a revision exists before any change is made.
Questions to Ask Before Tile Roof Work Starts
Before work starts, ask for the approval number and confirm the attachment method on it matches the planned assembly. That one check catches many mismatches early.
Ask a few more questions as well:
- How will the installer handle wind zone and roof location in Miami-Dade, Broward, Palm Beach, Collier, or Lee counties?
- How will deck condition and existing tiles be checked before the new attachment is chosen?
- How will the work be documented so it can be matched to the approved assembly?
Partial work raises a code question too. Ask the installer how this rule applies to your job.
Common Questions
Is mortar or foam adhesive better for tile roofs in Florida?
Neither wins on its own. The method listed in the approved assembly for your roof is the right one.
Does a tile roof need approval for hurricane protection?
Yes. A product may not be marketed as hurricane or windstorm protection unless it is approved under Florida law.
Can I repair a few broken tiles?
Yes, repairing a few tiles is a common option. Whether a repair affects code requirements for the rest of the roof depends on the specific project and local requirements.
Not sure what your next step is?
Talk it through with our team — the first consultation is free, confidential, and carries no obligation.
Tile Roof Lifespan in Florida and When Tile Repair Makes Sense
A tile roof’s lifespan in Florida varies with the tile type, the quality of the installation, exposure to sun and salt air, and regular upkeep. Two roofs with the same tile can age differently.
Signs of attachment trouble include lifted, cracked, or missing tiles, mortar that crumbles or pulls loose, and ridge or hip caps that move. Any of these lets water reach the layers below.
Repairing individual tiles makes sense when the deck and underlayment are sound and the damage is limited. When attachment has failed across large areas, replacement with an approved assembly is usually the better path.
Florida law also protects work already in place. Under Fla. Stat. § 553.8425, changes to the code do not void approval of products previously installed in existing buildings if they met code requirements at installation.
For related next steps, see tile roof repair in South Florida and our tile roof replacement service.
Talk Through Your Tile Roof with ASP Superhome
If tiles lifted or cracked after a storm, or a replacement has you weighing mortar against foam, start with the approval paperwork. A mismatch between tile, underlayment, and attachment is worth catching early.
Our team offers a free first consultation, which is confidential and carries no obligation to continue. During that conversation, we can review your planned assembly against its approval documentation and talk through what your tiles and deck need.
To book that conversation or request a quote, visit our contact page. Homeowners in these areas can start there.
What we look at before recommending a method
The approved assembly
We start with the installation method listed for your tile system, so the recommendation fits the approved design.
Product approvals
We check the approvals that apply to the tile, underlayment, and adhesive or mortar products involved in your roof.
Your home and exposure
Roof pitch, height, and how exposed your home is to wind and rain all factor into the plan.
Condition of the existing roof
The condition of the deck, underlayment, and tiles affects whether repair or replacement makes sense.
Don't swap methods on your own
Switching from mortar to foam adhesive, or the reverse, without confirming it matches the approved assembly for your roof can compromise the system. Ask for the method in writing before any work begins.
How we help you decide
1. Review your roof
We look at your current tiles, underlayment, and any leaks or damage to understand what the roof needs.
2. Confirm the approved method
We match the installation method to the approved assembly for your tile system and the products involved.
3. Explain your options
We walk you through the tradeoffs in plain language so you know what each choice means for your home.
4. Put it in writing
You receive a clear written estimate describing the method, materials, and scope of work.


