


Tile Roofing & Roof Repair | South Florida
Check Your Tile Roof Before Hurricane Season Does
A careful inspection now can reveal loose tiles, damaged flashing, and hidden leaks before storm winds find them. Book a free estimate with ASP Superhome.
By Jonathan Rodriguez · Published October 22, 2026
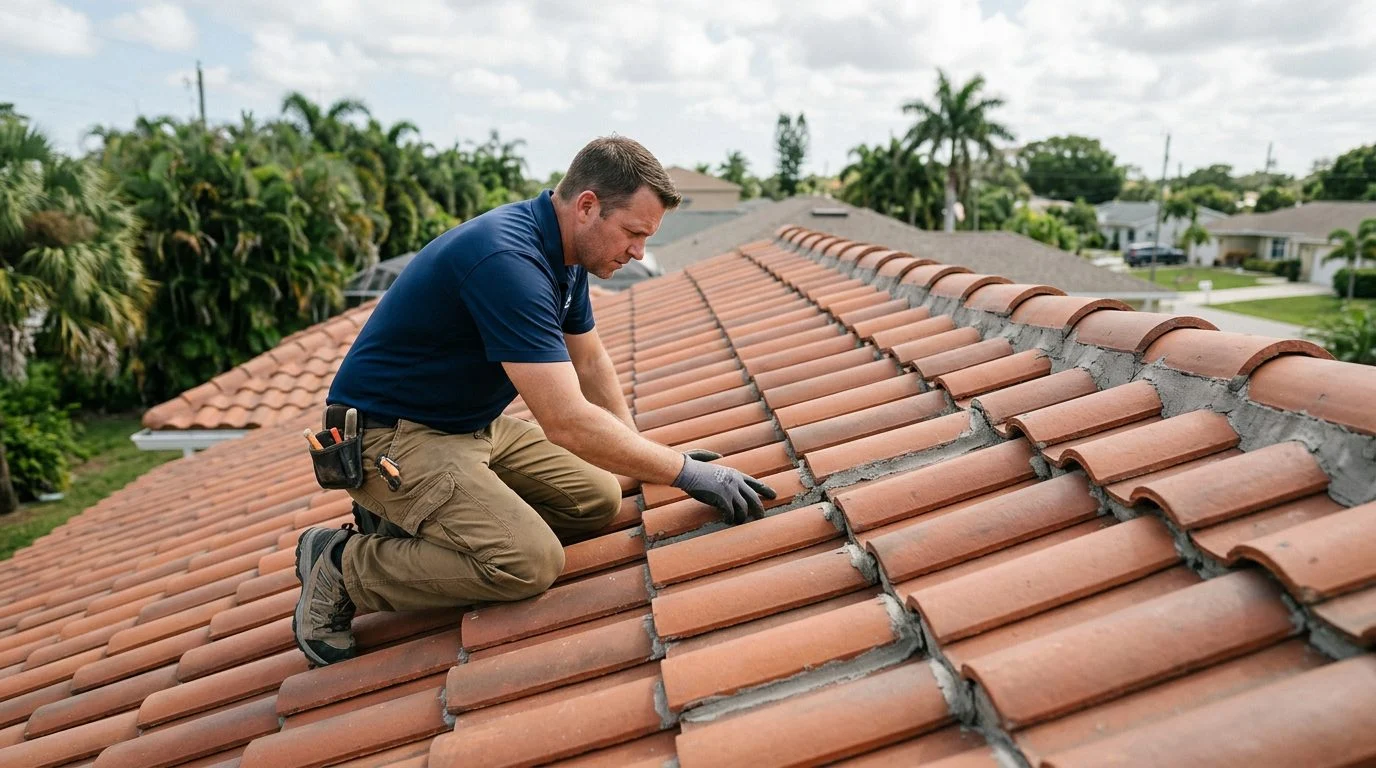
A tile roof inspection before hurricane season in Florida means checking the roof from the ground up for slipped tiles, damaged ridge caps, flashing gaps, and signs of water in the attic. Atlantic hurricane season runs from June 1 through November 30. A check now gives you time to plan repairs before a storm. This guide walks through what to look for, why each item matters for wind and water entry, and what your findings can mean.
Why Check a Tile Roof Before Hurricane Season
A pre-season check finds small problems while they are still small. It also gives you time to schedule repairs instead of making them during a storm.
Tile roofs are heavy. They depend on fasteners, clips, and underlayment working together. If one layer fails, wind-driven rain can reach the roof deck. A single loose tile may look minor, but it can expose the layers beneath it.
Tile systems are also tested. Miami-Dade County Product Control lists concrete roof tiles as a recognized tile type. It states that a flat-profile, interlocking Plantation concrete tile system is tested under TAS 112 and approved for specified Florida Building Code and High-Velocity Hurricane Zone applications (Miami-Dade County Product Control). A tested system depends on all of its parts staying in place. That is why each check below matters.
For background on tile roofing in South Florida, see our tile roofing guide.
If you spotted slipped tiles, lifted flashing, or stains in the attic, our team can talk through your options with you before storm season arrives. Talk it through with our team — the first consultation is free, confidential, and carries no obligation.
Safety Before You Start
Start from the ground, and do not walk on the tile. Broken or loose tiles can slide and crack under your weight. Many roof injuries happen when people step onto a surface they cannot see well.
Use binoculars for your first look. Scan the eaves, rakes, ridges, and valleys. Note anything that looks out of line, then decide what to check next.
If you use a ladder, set it on firm, level ground. Only lean it against the eaves if it is safe to do so. Never reach across a gap or lean out past the ladder’s rails.
Plan your attic check for daylight hours. Bring a flashlight and a helper. Have the helper watch from outside while you look from inside.
Ground-Level Checks: Tiles, Ridges, and Edges
The first thing to look for is cracked, chipped, or missing tiles. Check the eaves and rakes first. Wind pressure is highest at these edges, so damage often starts there.
Next, look for tiles that seem shifted. A tile that sits higher than its neighbors, or sits out of its row, may have slipped. Slipped tiles can let wind and rain under the roof surface.
Then inspect the ridge and hip caps. Look for cracks, loose or crumbling mortar, and missing sections. A gap at a cap lets water and wind get under the tiles beside it.
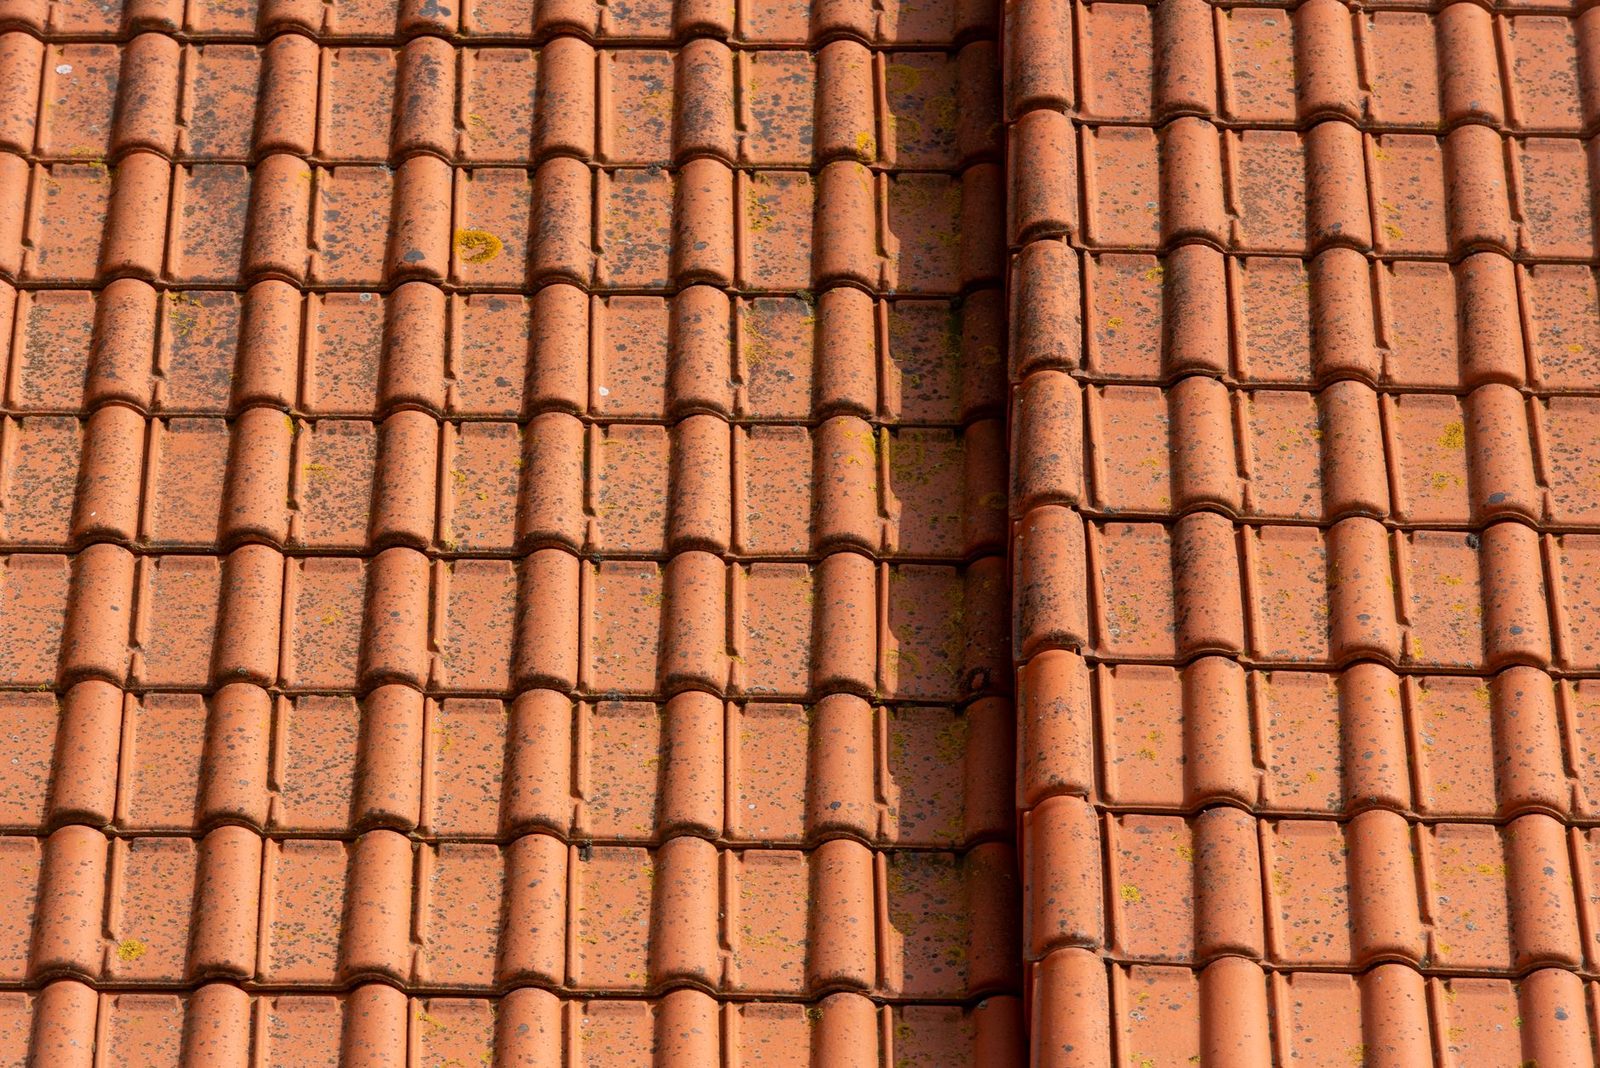
Also check for dark staining or moss on the tiles. Moss and dirt hold moisture against the surface. Over time, that moisture can wear down the tile and the mortar.
Finally, look at color and surface wear. Heat-related fading or flaking can signal age. For more on how South Florida sun affects tile choice, read our guide on tile roof color in South Florida heat.
Penetrations and Flashing: The Common Leak Points
Most leaks start where the roof is broken up. These spots include chimneys, vent pipes, skylights, and roof-mounted equipment. Flashing is the metal or sealed trim that covers these joints.
Check flashing for lifted edges, cracked sealant, or gaps. Look closely at any spot where metal meets tile. Small separations here are easy to miss from the street.
Valleys are another weak point. Valleys are where two roof planes meet, so water runs into them. Look for debris that blocks the flow, cracked tiles along the valley, and exposed metal that has lost its coating.
Walls and dormers also need attention. Look for failed sealant or separated trim where the roof meets the wall. Note any solar mounting hardware or conduit penetrations, and check that their seals look intact.
Underlayment and Fasteners: What You Cannot See From the Street
Underlayment is the water-resistant layer beneath the tiles. It acts as a secondary barrier if wind or water gets past the tiles. When tiles are displaced, this layer may be exposed. You can read more in our underlayment guide for tile roofs in Florida.
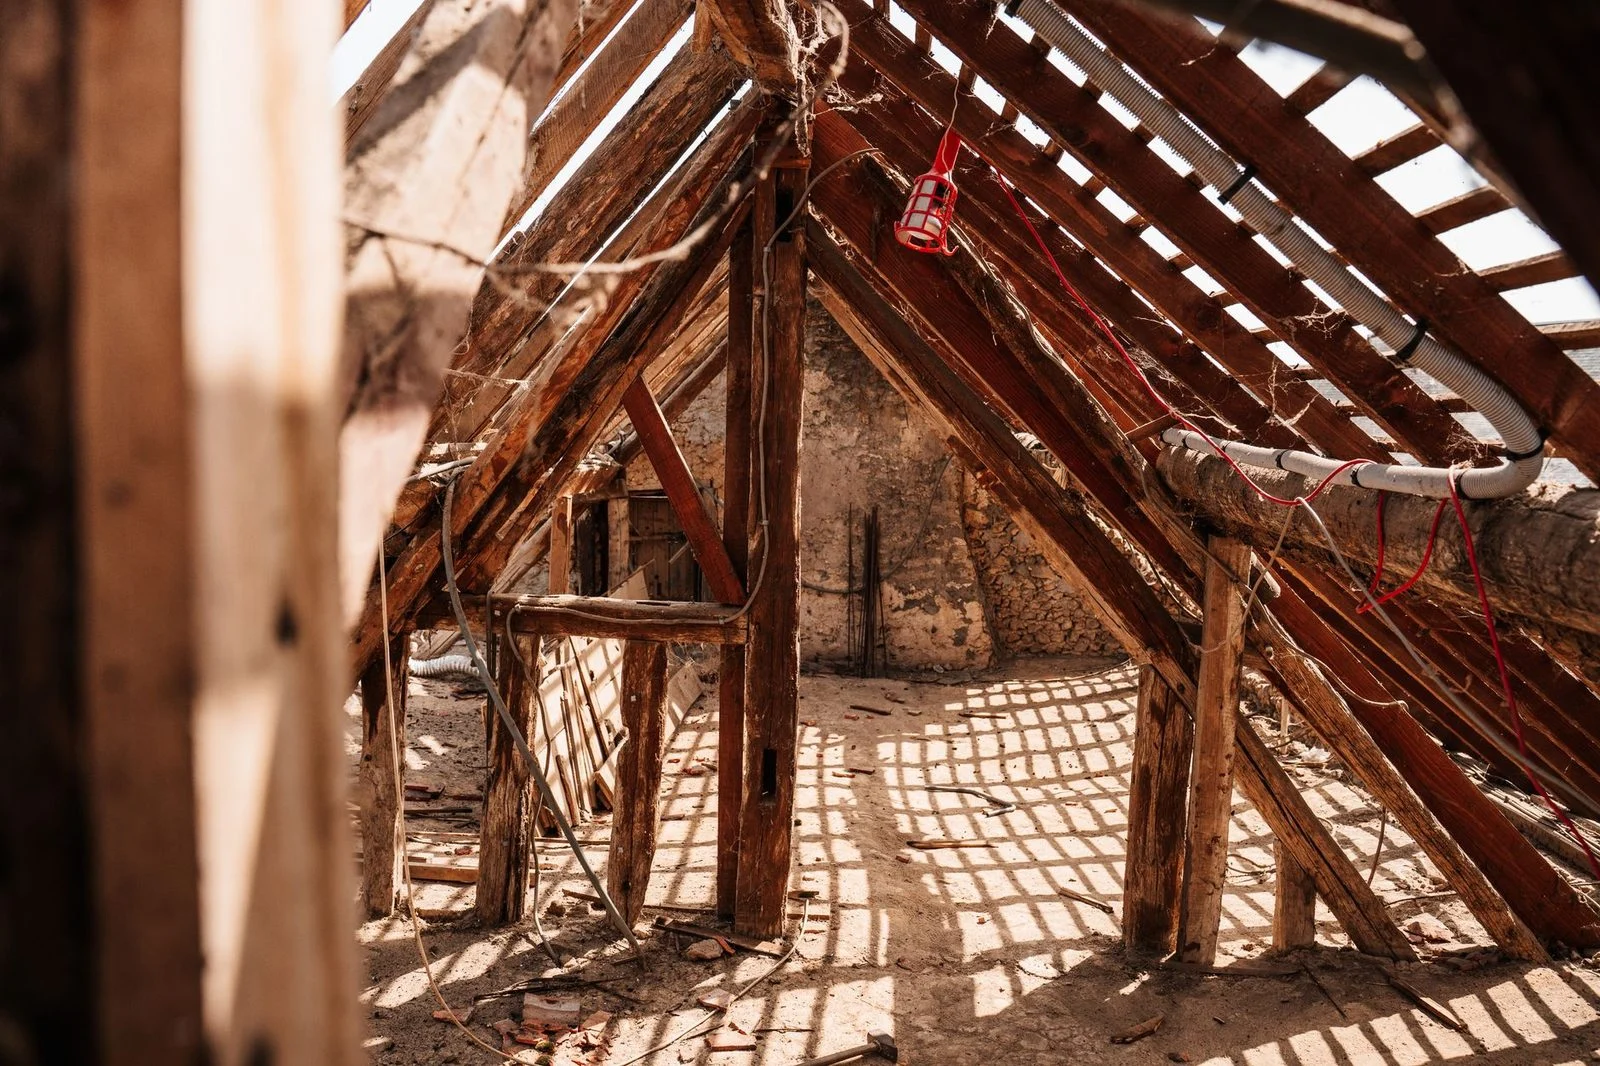
From the attic, look for water stains on the roof deck, rafters, and insulation. Fresh stains look darker and damp. Old stains look faded and dry, with rings or discoloration. Note which kind you see.
Check for daylight coming through the roof deck. Light means there is a gap. Also look for bent or rusted nails and any sagging sections. These can point to fastening problems.
Ask whether the tiles were installed with clips or fasteners suited to wind. If the records do not show this, write it down as an open question. Our team can look at this with you during an assessment.
Last, consider the load. Tile is heavy. If you plan to add weight to the roof, check whether the home’s structure can carry it. Our guide on whether a house can support a concrete tile roof covers this question.
Gutters, Drainage, and Debris Clearing
Clear gutters, downspouts, and valleys of leaves and debris. Water needs a clear path off the roof during heavy rain. Blocked drainage can push water back under the tiles.
Check the fascia and soffit boards. These boards hold the roof edge in place. Look for rot, soft spots, or boards that have pulled apart.
Trim tree limbs that hang over the roof. Branches can rub tiles loose during wind. They can also drop debris onto the roof surface and into the gutters.
Do these clearing tasks before you climb. Use the ground-level checks to decide whether a roof visit is needed.
Not sure what your next step is?
Talk it through with our team — the first consultation is free, confidential, and carries no obligation.
Interpreting Your Findings and Taking the Next Step
Sort your findings into three groups. Cosmetic issues are changes in color or surface that do not affect water entry. Items to monitor are small signs, such as one slightly shifted tile, that you should recheck. Items that need repair before storm season include slipped tiles, lifted flashing, failed ridge mortar, and any attic staining that is fresh.
Photograph each finding with a date stamp. Photos help you track changes over time and plan repairs.
Repairs may need a permit. Florida law generally requires a permit before repair work on a building begins, under Fla. Stat. § 553.79. In Miami-Dade County, the county’s roofing permits page lists required forms and checklists.
Florida homeowners can also use an official mitigation inspection form for wind insurance.
If you found slipped tiles, lifted flashing, or attic staining, reach out to ASP Superhome. Your first consultation is free, confidential, and comes with no obligation to continue. We can look at your tile roof repair or roof replacement options before June 1: contact ASP Superhome.
Can I walk on my tile roof to inspect it?
No. Broken or loose tiles can slide and crack under weight. Inspect from the ground and the attic instead.
Does a leak in the attic always mean the roof has failed?
No. Stains can come from flashing, valleys, or old damage. Photograph the stain and have the source checked.
Do I need a permit to repair roof tiles in Florida?
Florida law generally requires a permit before repair work on a building begins. Check local rules before work starts.
Stay off the tiles
Walking on a tile roof can crack or dislodge tiles that look fine. Inspect from the ground, from the attic, and with clear photos. Leave any close look at the roof surface to a professional.
What to look for during a pre-season tile roof check
Loose or cracked tiles
Look for tiles that are shifted, slipping, chipped, or missing. Even small gaps can let wind-driven rain under the roofing layer.
Flashing and sealant
Check the metal flashing around chimneys, vents, skylights, and walls. Dried or lifting sealant is a common entry point for water.
Valleys and ridges
Water collects in valleys and gathers at ridges. Look for debris buildup, bent metal, or mortar that has cracked or crumbled.
Attic signs
Check the attic for water stains, damp insulation, daylight through the decking, or a musty smell. Photograph any stain so the source can be traced.
Why start with a professional inspection
Find problems early
Small repairs are usually simpler and less costly than damage that spreads during a storm.
Clear written findings
Our team documents what we see, with photos and notes you can review at your own pace.
Confidential first step
Your free first consultation is confidential and comes with no obligation to continue.
Built for South Florida homes
We focus on the tile and roofing conditions common to homes across Miami-Dade, Broward, Palm Beach, Collier, Lee, and Palm Beach counties.
Get your tile roof checked before the next storm
Related practice areas
- Is It Easy to Replace a Roof? South Florida Guide


