


Solar Panels | South Florida
How Are Solar Panels Installed? A Step-by-Step Guide for South Florida Homes
From the first site visit to the final switch-on, here is what the solar panel installation process usually involves for homes in Miami, Fort Lauderdale, West Palm Beach, Naples, and beyond.
By Jonathan Rodriguez · Published October 23, 2026
How are solar panels installed? They go in through five stages: a roof and site check, system design with permits, mounting on the roof, wiring to the home’s electrical system, and inspection before the system is switched on. Each stage has its own work and its own decisions for the homeowner.
This guide walks through those stages in order. It’s written for South Florida homeowners in Miami, Fort Lauderdale, West Palm Beach, Kendall, Naples, Fort Myers and Boca Raton. If you’re reading this for a parent, a spouse or a family member, these steps will help you know what to ask.
What the solar panel installation process covers
Rooftop solar is a set of parts that work together. Photovoltaic (PV) panels collect sunlight. A racking system holds them on the roof. An inverter changes the panels’ direct current (DC) into alternating current (AC), which the home uses. Wiring connects everything, and battery storage is optional.
The work happens in two places. Crews work on the roof and at the electrical panel. Paperwork runs through the local building department and the electric utility. Every home is different, so the exact steps and scope depend on the property and the system chosen.
If you're looking into solar for a roof or electric bill you didn't plan for, our team can talk it through with you in a confidential first consultation with no obligation to continue. Talk it through with our team — the first consultation is free, confidential, and carries no obligation.
Step 1: Site assessment and roof inspection
A site check answers one question: can this roof hold a solar array? The installer looks at roof age, roof condition, which way the roof faces, shade from trees or nearby buildings, and how much clear space is available.
The roof matters because every panel attaches to the roof structure. Each attachment point needs flashing, the protective piece that keeps water out. A worn roof gives the racking less to hold onto. Panels come off and go back on during a re-roof, so a roof near the end of its life is worth deciding on first.
Florida law also sets rules for roof replacement. For a site-built, single-family home, a roof replacement must include windstorm techniques, such as strengthening roof-decking attachments and fasteners, under Fla. Stat. § 553.844. That matters in South Florida, where wind is a constant concern.
Expect questions about your electrical service panel and your monthly electric use. Bring recent utility bills to the first visit.
Step 2: System design, permits, and utility approval
The installer designs a panel layout that fits the roof and the home’s electrical needs. The design shows where each row of panels sits, where the inverter goes, and how the system ties into the main electrical panel.
The design goes to the local building department. Florida’s building code governs the design, construction, erection, alteration, modification, repair, and demolition of public and private buildings, structures, and facilities, as set out in Fla. Stat. § 553.73. Florida law also says an owner generally must record a notice of commencement in the clerk’s office, and post a certified copy or a notarized statement on the site, before starting most improvements to real property, as set out in Fla. Stat. § 713.13. Contact our team to find out which filings apply to your project.
The utility has a role too. If your utility is investor-owned, Fla. Admin. Code R. 25-6.065 requires you to notify it at least 10 days before the equipment goes into service. The utility may inspect the system and its documents. It may also have personnel present on the in-service date.
Step 3: Mounting the racking and panels on the roof
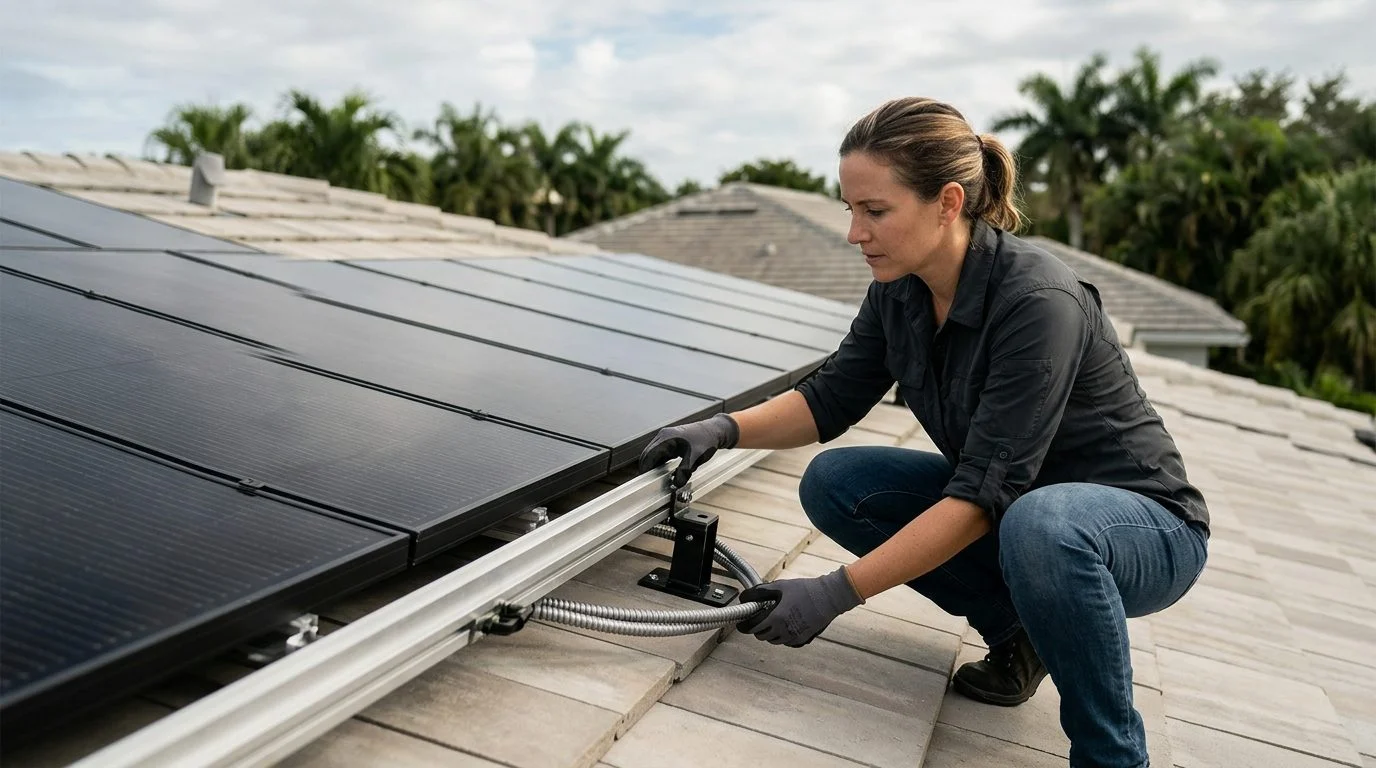
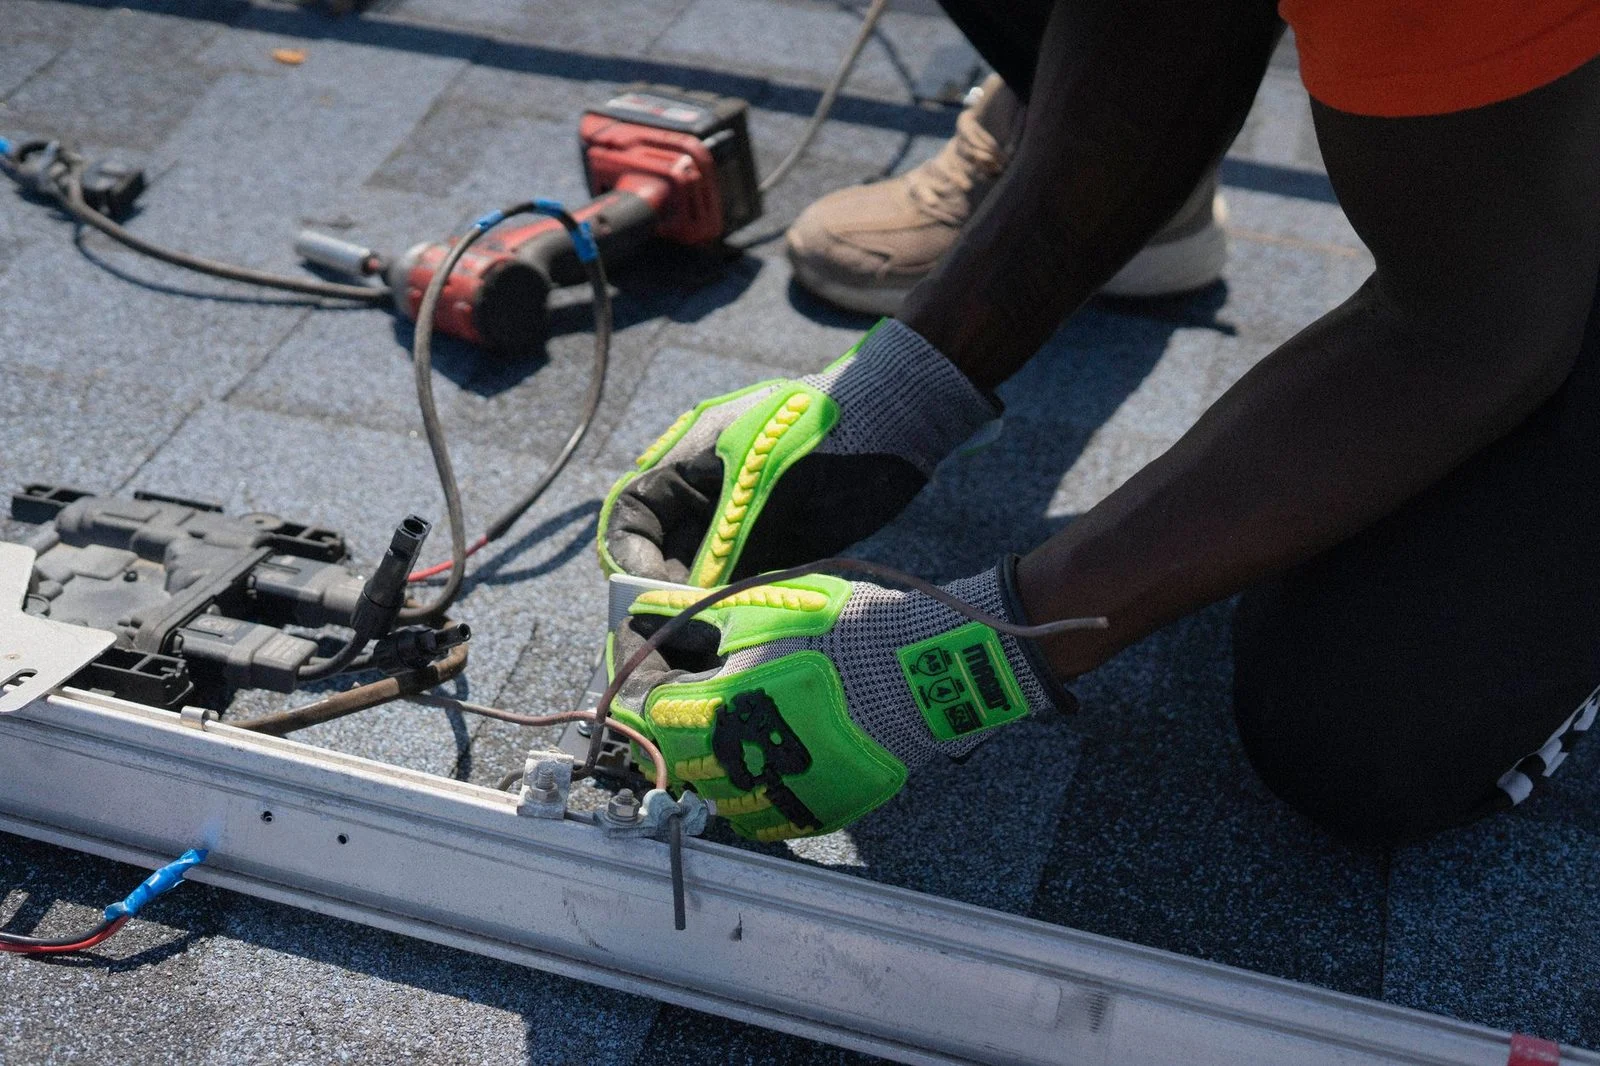
Crews attach mounting points to the roof structure at the spots set in the design. Each point gets flashing and sealant to protect against leaks. Then they fasten rails to the mounts.
Panels are clamped to the rails in rows that follow the approved layout. This stage brings ladders, tools and materials into the yard or driveway, so crews need room to work.
Plan ahead to avoid surprises. Move vehicles from the driveway, tell crews about gates, pets and sprinkler zones, and ask who will be on site each day. Read the approved layout before work starts, so you know where panels and equipment will go.
Step 4: Wiring, the inverter, and battery backup
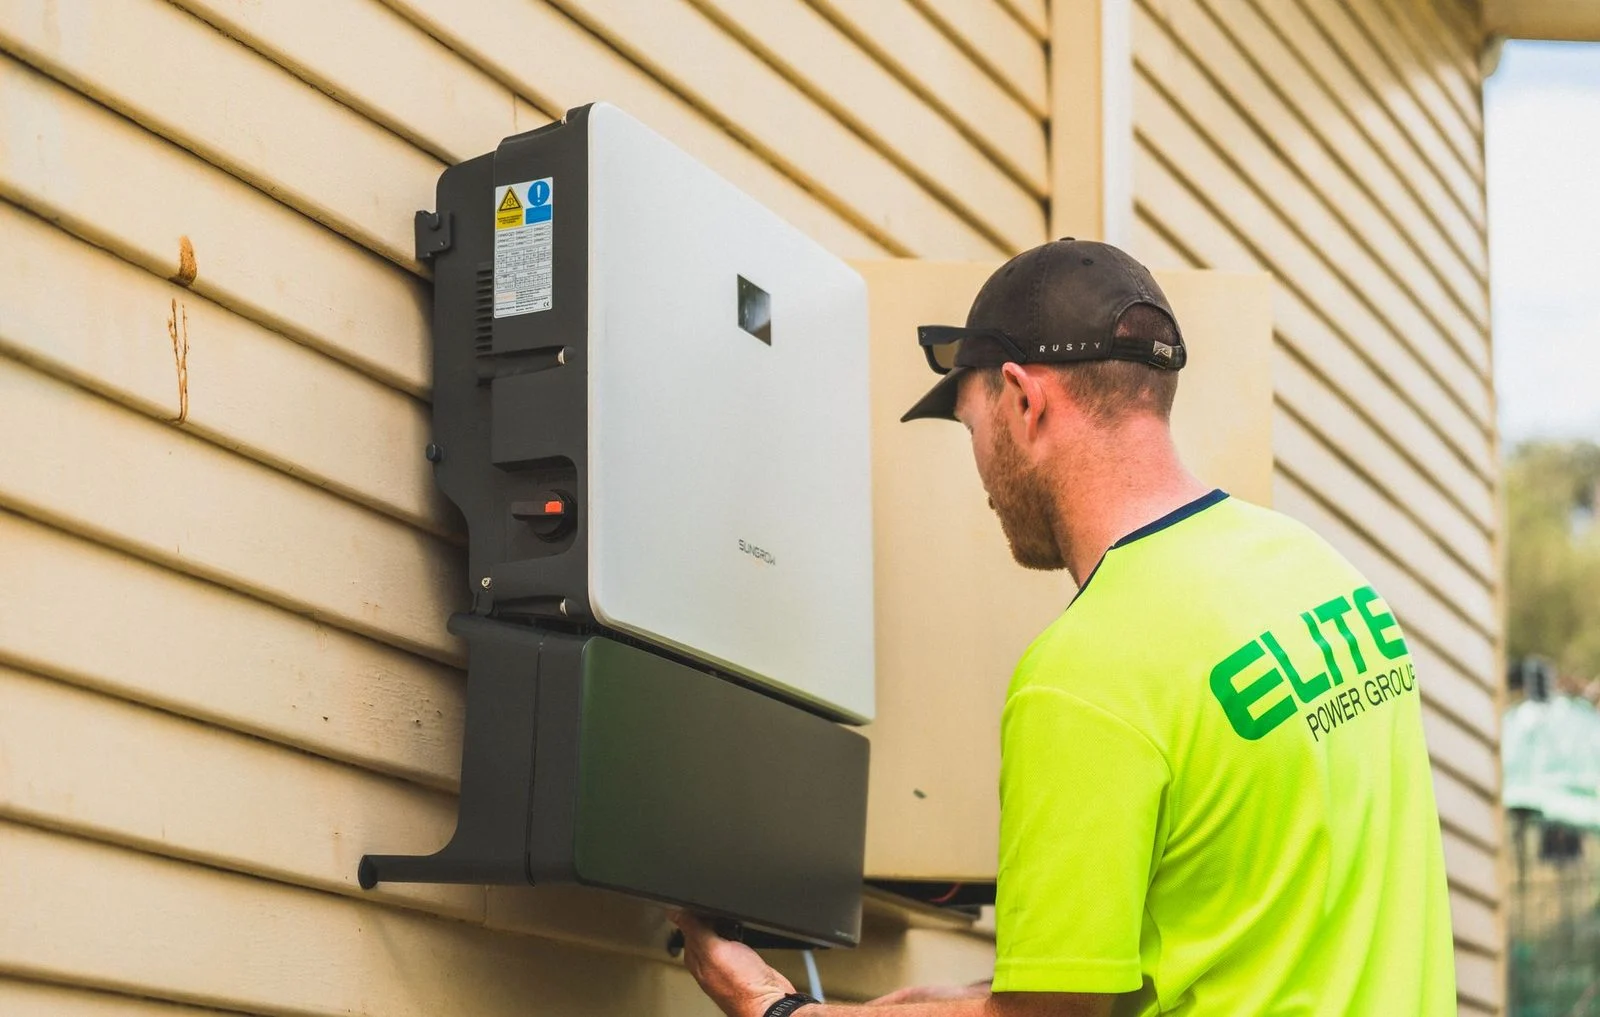
Panels are wired together in strings, and the strings run to the inverter. The inverter is usually mounted on a wall near the main electrical panel. The system then ties into that panel through its wiring.
Some interconnection agreements may require a manual disconnect switch at the homeowner’s expense. Under Fla. Admin. Code R. 25-6.065, the switch sits separate from, but next to, the meter socket. Inverter-based Tier 1 systems are exempt unless the utility pays for the switch.
A solar battery backup adds storage. It holds power the panels make so the home can use it later. Whether a battery keeps specific circuits running during an outage depends on how the system is set up. Federal law counts labor costs properly allocable to onsite preparation, assembly, or original installation of the qualifying property described in subsection (d), and the piping or wiring that connects that property to the home, toward the residential clean energy credit, under 26 U.S.C. § 25D. Our solar battery backup page covers what a battery stores in more detail.
Step 5: Inspection, utility sign-off, and activation
Code R. 25-6.065. The inspection checks the work against applicable local codes.
Once the inspection passes, the utility has its notice, and (for an investor-owned utility) the signed Standard Interconnection Agreement has been returned at least 30 calendar days before parallel operation begins and within one year after the utility signs it, the system can be switched on. Read the paperwork that comes with it. Ask how you will track production through the system’s monitoring tools.
Contact our team to review what that schedule looks like.
The federal tax credit is a separate topic with its own rules. Our tax credit guide covers it in more detail.
Not sure what your next step is?
Talk it through with our team — the first consultation is free, confidential, and carries no obligation.
Talk with ASP Superhome about your home’s installation
Many people reading about solar are dealing with something they didn’t choose. An aging roof, a rising electric bill, or a family member who asked you to look into it can all bring you here. You don’t have to work through every stage alone.
Does the roof need work before solar?
Florida law sets windstorm requirements when a site-built, single-family roof is replaced. Checking the roof first is part of planning the installation.
Does the utility need to know about my system?
For investor-owned utilities, Florida’s rule requires notice at least 10 days before the system goes into service. The utility may also inspect the system.
Where does the inverter go?
The inverter usually mounts near the main electrical panel. The system ties into that panel through its wiring.
If you’re asking how solar panels are installed for your own home or for someone you care about, our team can help you sort out the steps. Our first consultation is free, confidential, and carries no obligation to continue. Contact ASP Superhome to start the conversation.
The Installation Process at a Glance
1. Site Review
We look at your home, your electrical setup, and how your roof faces the sun to see whether solar fits your property.
2. Roof and Structure Check
Because panels rest on the roof, the roof's age, condition, and structure are reviewed before any mounting plan is final.
3. System Design and Paperwork
A system is sized to your home, and the layout and documents are prepared so the project can move forward.
4. Installation and Activation
Panels, mounting hardware, and wiring are installed, then the system is inspected and connected before it begins producing power.
Plan Your Roof Early
Solar panels are mounted to your roof, so its condition matters. Checking the roof before you commit to a layout helps avoid surprises later in the project.
What to Expect When You Work With Us
A Free First Consultation
Your first consultation is free, confidential, and comes with no obligation to continue.
Local Knowledge of South Florida
We focus on homes across South Florida, from Kendall and Boca Raton to Fort Myers and Naples.
Projects Planned Around Your Home
Solar is one part of a complete home solution, and our team can coordinate it with roofing, impact windows, and doors.
Support Throughout
Our team keeps you informed from the first site visit through installation and final inspection.


