


Tile Roof Repair | South Florida
Tile Roof Leak Repair in South Florida: Find the Source
Water stains and drips don't always start where they show up. Here is how a leak is traced back to its source, and how to get it fixed the right way.
By Jonathan Rodriguez · Published November 5, 2026
Tile roof leak repair starts with knowing which layer failed. A tile roof leak almost always begins in the tiles on top or the underlayment beneath them. The stain on your ceiling is rarely directly under the entry point, so a few checks in the attic and on the roof come first.
Why the Stain on the Ceiling Is Rarely Under the Leak
Water that gets into a tile roof often travels a long way before it shows inside. It runs down the tile surface, slides along battens and decking, follows the rafters, and drips where it finally reaches a low point. A stain can show up several feet from the real entry point.
That is why the common advice, “find the stain and fix the spot above it,” often misses the source. The stain marks where water came out, not where it got in. A repair made only above the stain can leave the true opening untouched.
In practice, stains often appear at a ceiling corner or near a light fixture, because that is where the drywall sags or darkens first. The visible mark is the end of the water’s path, not the start.
Two layers are the main candidates. The tile layer is the visible concrete or clay surface. The underlayment is the water-resistant sheet beneath the tiles that protects the decking. If either one fails, water can reach your attic.
For the broader picture, read our roof repair guide for South Florida homes.
If a stain on your ceiling has you wondering where the water is really coming in, we're glad to talk through what you're seeing. Talk it through with our team — the first consultation is free, confidential, and carries no obligation.

Signs the Leak Starts at the Tiles
A leak starts at the tiles when you can see damage or movement on the roof surface. Watch for these signs:
- Cracked, chipped, or broken tiles, especially after wind-driven debris or foot traffic.
- Slipped, shifted, or missing tiles that leave the area below open to rain.
- Leaks that appear mainly during wind-driven rain, when wind pushes water under a lifted or misaligned tile.
- Daylight visible through the roof boards from the attic. That points to an open path through the tile layer.
Tile leaks often change with the weather. They may slow between storms and return during the next heavy rain. Write down when you notice drips so the pattern is clear.
A broken tile is usually replaced, not glued. Gluing pieces together does not secure the tile to the batten, and the batten is what holds it in place against wind. A new tile has to be fastened properly so it stays put.
Signs the Leak Starts Under the Tiles
A leak starts under the tiles when water gets in even where the tiles look whole and well seated. The clues show up in the pattern, not in one broken piece.
- Water entering during rain, even where the tiles look intact.
- Wet decking or water trails along rafters that are not below any visibly damaged tile.
- Stains that spread across a wider area or appear in several places at once.
- A leak that returns after the tiles above the stain were already repaired.
Underlayment problems are harder to spot from the roof, because the sheet sits beneath the tiles. Florida’s residential code addresses this layer directly.
Wind pressure is the reason this matters in South Florida.
Checking the Attic: What to Look for and Mark
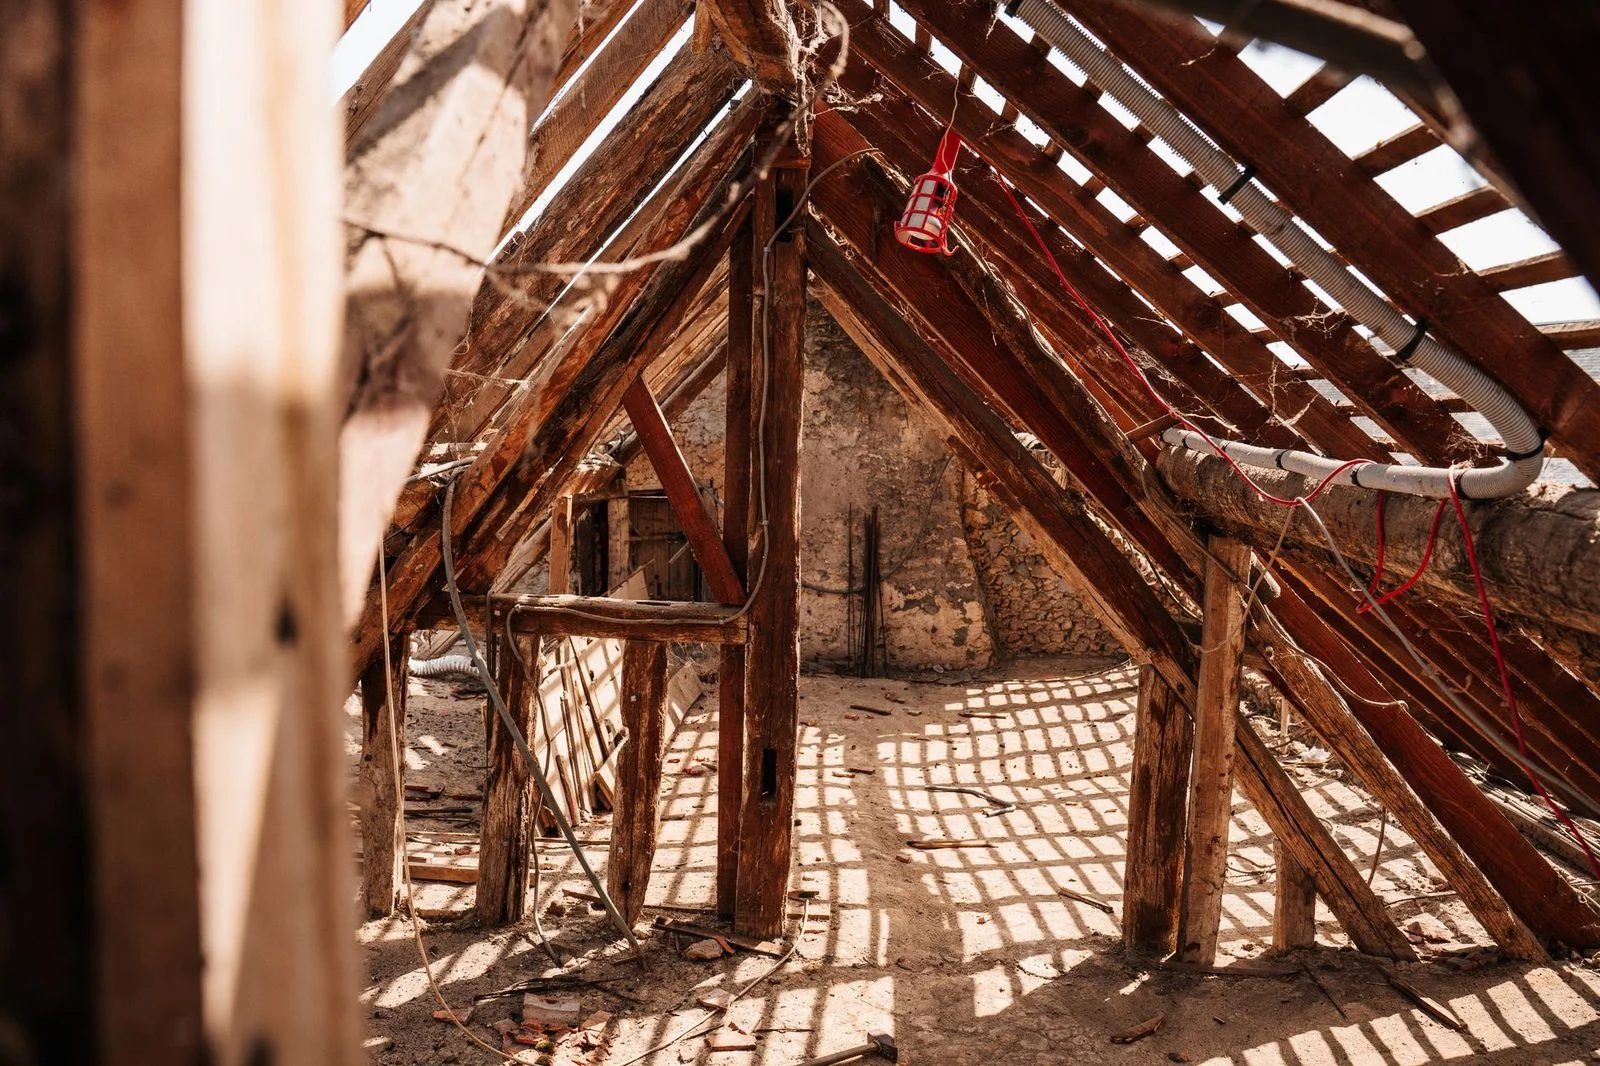
Start in the attic, directly above the stain, and trace the water path uphill to find where it begins. Attic checks are safe to repeat and often give the clearest picture of the problem.
Look at the decking and rafters directly above the stain. Note any daylight, dark staining on the underside of the decking, and wet insulation or framing. Then follow the wet trail upslope along the rafters.
The highest wet point is the most likely entry area. Water can bend around framing and travel sideways, so check more than one line. If the wet trail runs in several directions, note each one.
Mark each wet area with painter’s tape or a pencil note. Write down the time of day and the rain conditions when you see dripping. After the next rain, compare the marks to the roof area above.
Work carefully. Use a good light and keep your footing on the framing, not on insulation or ceiling drywall. Do not disturb insulation or wiring. If an area looks unsafe, stop and note it for the inspection.
Roof-Side Checks That Support the Diagnosis
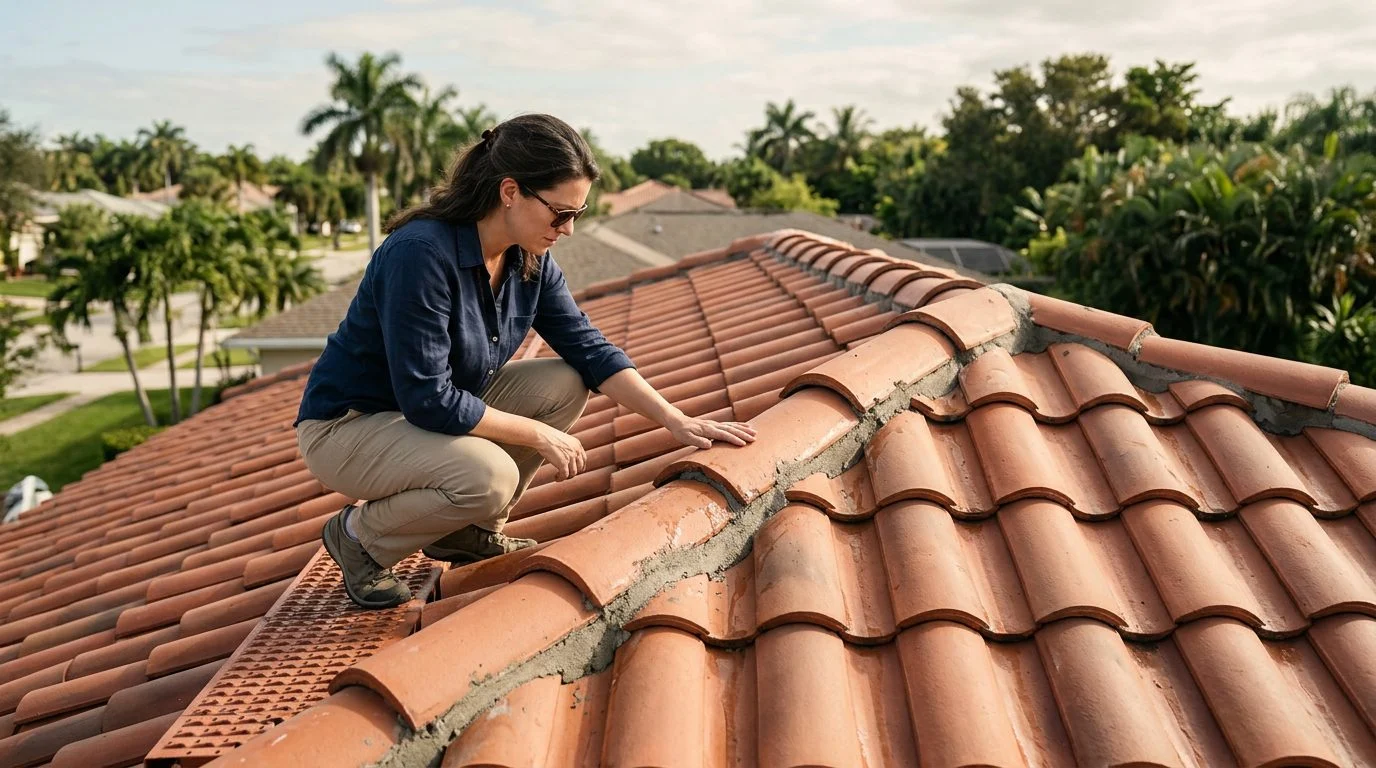
Roof-side checks confirm what the attic shows, but they must be done safely. Tile roofs crack under weight, so never walk on the tiles.
- Use a sturdy ladder and a stable setup. Stay off the tiles.
- Check valleys, the areas around vents and pipes, and where tile meets walls or flashing.
- Look for displaced tiles, cracked tiles, debris trapped under tiles, and gaps where the tile pattern has shifted.
- Take photos from the same spot each time so you can compare them after rain or a storm.
Flashing matters here too. The 2026 flashing section analysis broadened that section to cover all roof types and shapes. Check for flashing that is lifted, cracked, or pulled away from walls and vents.
Compare what you see from the ladder with what the attic showed. If the wet spots line up with a cracked or shifted tile, the tile layer is a strong suspect. If they line up with no visible damage, the underlayment or decking is more likely.
Storm-Related Leaks on South Florida Tile Roofs
A storm can cause a tile roof leak even when the damage is hard to see from the ground. South Florida’s summer rains often arrive with strong gusts, and wind is what drives water into small gaps.
Wind-driven rain can push water beneath tiles that look intact. The leak may appear only during heavy storms, which makes it easy to miss on a calm day. Storms can also shift, crack, or dislodge tiles, and that damage may not be obvious from below.
After a storm, check the attic first for new wet spots. Then look for tile displacement from the ground or a safe vantage point. Compare the new marks with any old ones from before the storm.
The Tile Roofing Industry Alliance guidance covers evaluating storm-damaged concrete and clay tile roofs, including inspecting the underlayment.
Storm damage and an underlayment leak can exist together. That is why both layers belong in the diagnosis, not just the tiles you can see.
Not sure what your next step is?
Talk it through with our team — the first consultation is free, confidential, and carries no obligation.
What the Findings Mean for Repair Scope
A leak tied to a few cracked or shifted tiles usually points to a targeted tile repair. A leak that persists where the tiles look sound points to the underlayment, and sometimes to the decking below it.
Repair scope turns on four things: the area affected, how far the water has traveled, the condition of the decking, and the number of tiles involved. Each one changes how much work the roof needs.
Repairing only the surface above a stain often leads to a leak that returns. The stain can look fixed while the water path stays open. This is one of the most common reasons a tile roof leak repair fails to hold.
Hip, ridge, and rake tiles follow specific installation methods.
For next steps, see our guides on how long tile roof repair takes and on whether to repair or replace a tile roof.
Frequently Asked Questions About Tile Roof Leaks
What should I do about a broken roof tile?
Replace the broken tile and secure it to the batten. Gluing the pieces together does not hold the tile in place against wind.
How much does tile roof leak repair cost?
Cost depends on the facts found during inspection, including the area affected and whether the underlayment is involved.
Why does a tile roof leak keep coming back?
Often the visible tiles were repaired while the water entered through the underlayment or decking. The true entry point stays open.
Can a stain show up far from the leak?
Yes. Water can travel along the decking and rafters before it appears on the ceiling.
When to Ask a Roofing Team to Look at It
If you’re researching this for a parent, a tenant, or a property you manage, you didn’t choose to deal with a leak. Stains and dripping are stressful, especially when you’re not the one who can see the roof.
Bring what you’ve found: the stain locations, attic findings with photos, when the water shows up relative to rain, and any storm history. That record helps whoever looks at the roof understand where to start.
A free first consultation with ASP Superhome is confidential and carries no obligation to continue. If you’d like help making sense of what you’re seeing, contact ASP Superhome.
What a leak inspection looks at
Tile condition
Cracked, slipped, or loose tiles that let rain reach the layer beneath.
Underlayment
The water barrier under the tiles, checked for wear or damage where water may travel.
Flashing and penetrations
Seals around vents, chimneys, skylights, and wall intersections, where leaks often start.
Attic and decking
Signs of moisture inside the structure that help confirm where water is entering.
Don't patch a broken tile with glue
Gluing pieces together does not hold a tile in place against wind. A broken tile should be replaced and secured to the batten.
Common leak sources on tile roofs
Displaced or cracked tiles
Wind-driven rain and debris can lift or break tiles, opening a path for water.
Flashing failures
Metal flashing around chimneys, vents, and walls can loosen or deteriorate over time.
Valleys and roof transitions
Where two roof planes meet, water concentrates and can seep through small gaps.
Worn underlayment
When the underlayment is involved, repairs take more work than replacing a single tile.
Find the source of your leak. Start with a free first consultation, confidential and with no obligation to continue.
Related practice areas
- Roof Repair in South Florida: Fast, Storm-Ready Fixes for Every Roof Type
- Metal Roof Repair in South Florida: Repair or Replace?


